How to Create a Loudness Detector Using Vonage Video API
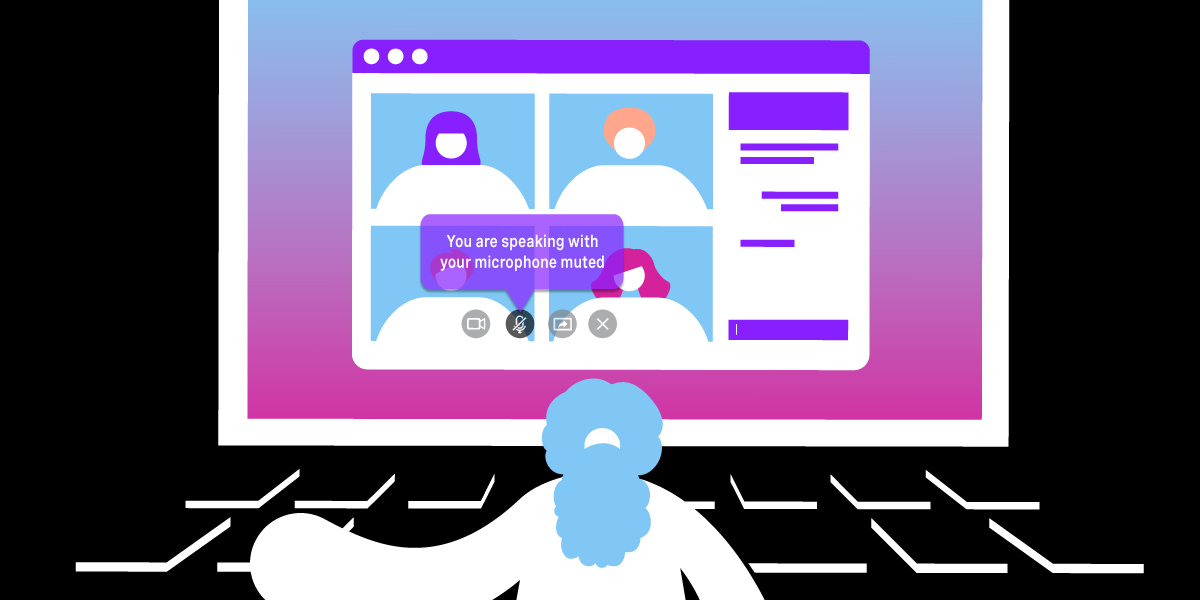
In this blog post, we are going to implement a loudness detector that could be used to avoid one of the most common situations that happened during the pandemic:
Hey, You Are Muted.
The code is available on GitHub.
Concepts
Vonage Video API has three main concepts: session, publisher and subscriber. You can think of a session as a virtual room in which people can speak (publish audio and/or video) and listen (subscribe) to each other. Let’s focus on the publisher concept. A publisher represents the view of a video you publish:
const publisher = OT.initPublisher("publisherContainer",
{ publishAudio: true, publishVideo: true }, function(error) {
  if (error) {
    // The client cannot publish.
  } else {
    console.log('Publisher initialized.');
  }
});
The publisher object is composed of an audioTrack and a videoTrack. It's possible to monitor the audio level of the audioTrack using a listener on the publisher object. The event is called audioLevelUpdated. The audioLevelUpdate event periodically dispatches the audio level of the publisher if the microphone is active.
If the Publisher has muted their microphone using the publishAudio(false) function, the event will fire with audioLevel equal to 0. Since our goal is to catch the audioLevel when the microphone is muted, we need to find a way to get the audio level even when the microphone is muted.
The idea is to create an AudioContext on the audioDevice used by the Publisher. It's possible to get the deviceId of the Publisher using getAudioSource. Then, we need to get an additional MediaTrack using getUserMedia:
const audioContext = new AudioContext();
const stream = await navigator.mediaDevices.getUserMedia({
     audio: {
       deviceId: selectedMicrophoneId,
  },
});
An AudioContext is the first element that we need to process an Audio Node. The next step is to connect the audioStream to the AudioContext and create an Analyser using createAnalyser:
const source = loudnessDetector.audioContext.createMediaStreamSource(
  loudnessDetector.stream
);
const analyser = loudnessDetector.audioContext.createAnalyser();

source.connect(analyser);
Detect Loudness
Using the audio level given by the analyser, we can detect if the user is speaking. If so, the application should show a message on the UI alerting the user that they are speaking with their microphone muted.
The sample code is displaying a mute indicator when it detects that the audio level is beyond a specific threshold. Once the threshold is reached, it turns on the mute indicator and turns off the detector for a certain amount of time (for example 5 seconds). After that, the timeout hides the indicator and activates the detector again:
if (!muteIndication && turnMuteIndicationOffTimer === -1) {
  this.turnLoudnessDetectorOff();
  turnMuteIndicationOffTimer = setTimeout(() => {
    // turn off the mute indicator and toggle the loudnessDetector
    this.turnMuteIndicationOff();
    this.turnLoudnessDetectorOn({
      selectedMicrophoneId,
      isAudioEnabled,
    });
  }, 5000);

  // turn loudness indicator ON
  muteIndication = true;
  this.toggleLoudnessDetector();
}
Conclusion
In this blog post we explained how to create a loudness detector that can be integrated into your video platform to improve the user experience. It's up to your application to decide how to react to the event. It can show a simple message on the frontend, open a toast message or play an audio alert to the muted user.