Using Vonage APIs with Drupal
Prerequisites
- PHP 7.3 or higher
- SQLite 3.26 or higher OR MySQL 5.7.8 or higher
Vonage API Account
To complete this tutorial, you will need a Vonage API account. If you don’t have one already, you can sign up today and start building with free credit. Once you have an account, you can find your API Key and API Secret at the top of the Vonage API Dashboard.
This tutorial also uses a virtual phone number. To purchase one, go to Numbers > Buy Numbers and search for one that meets your needs.
Installing Drupal
With the introduction of Drupal 8, you can now install Drupal using Composer, PHP's package manager. Composer will handle keeping your website up-to-date as well as all of our website dependencies, but can also be used to install a basic Drupal installation. Let's clone the drupal/recommended-project repository as a project to grab a basic Drupal install:
$ composer create-project drupal/recommended-project vonage-and-drupal
Composer will download the repository and automatically pull down the dependencies for our application, which at the time of this writing will pull down Drupal 9.1. We can move into the vonage-and-drupal/ directory and continue the installation.
While we can run Drupal from behind a web server like Apache's httpd or Nginx, PHP has a built-in development server that we can use. Open another terminal window and cd into where we downloaded the Drupal code, and start up the server:
$ php -S localhost:3000 -t web
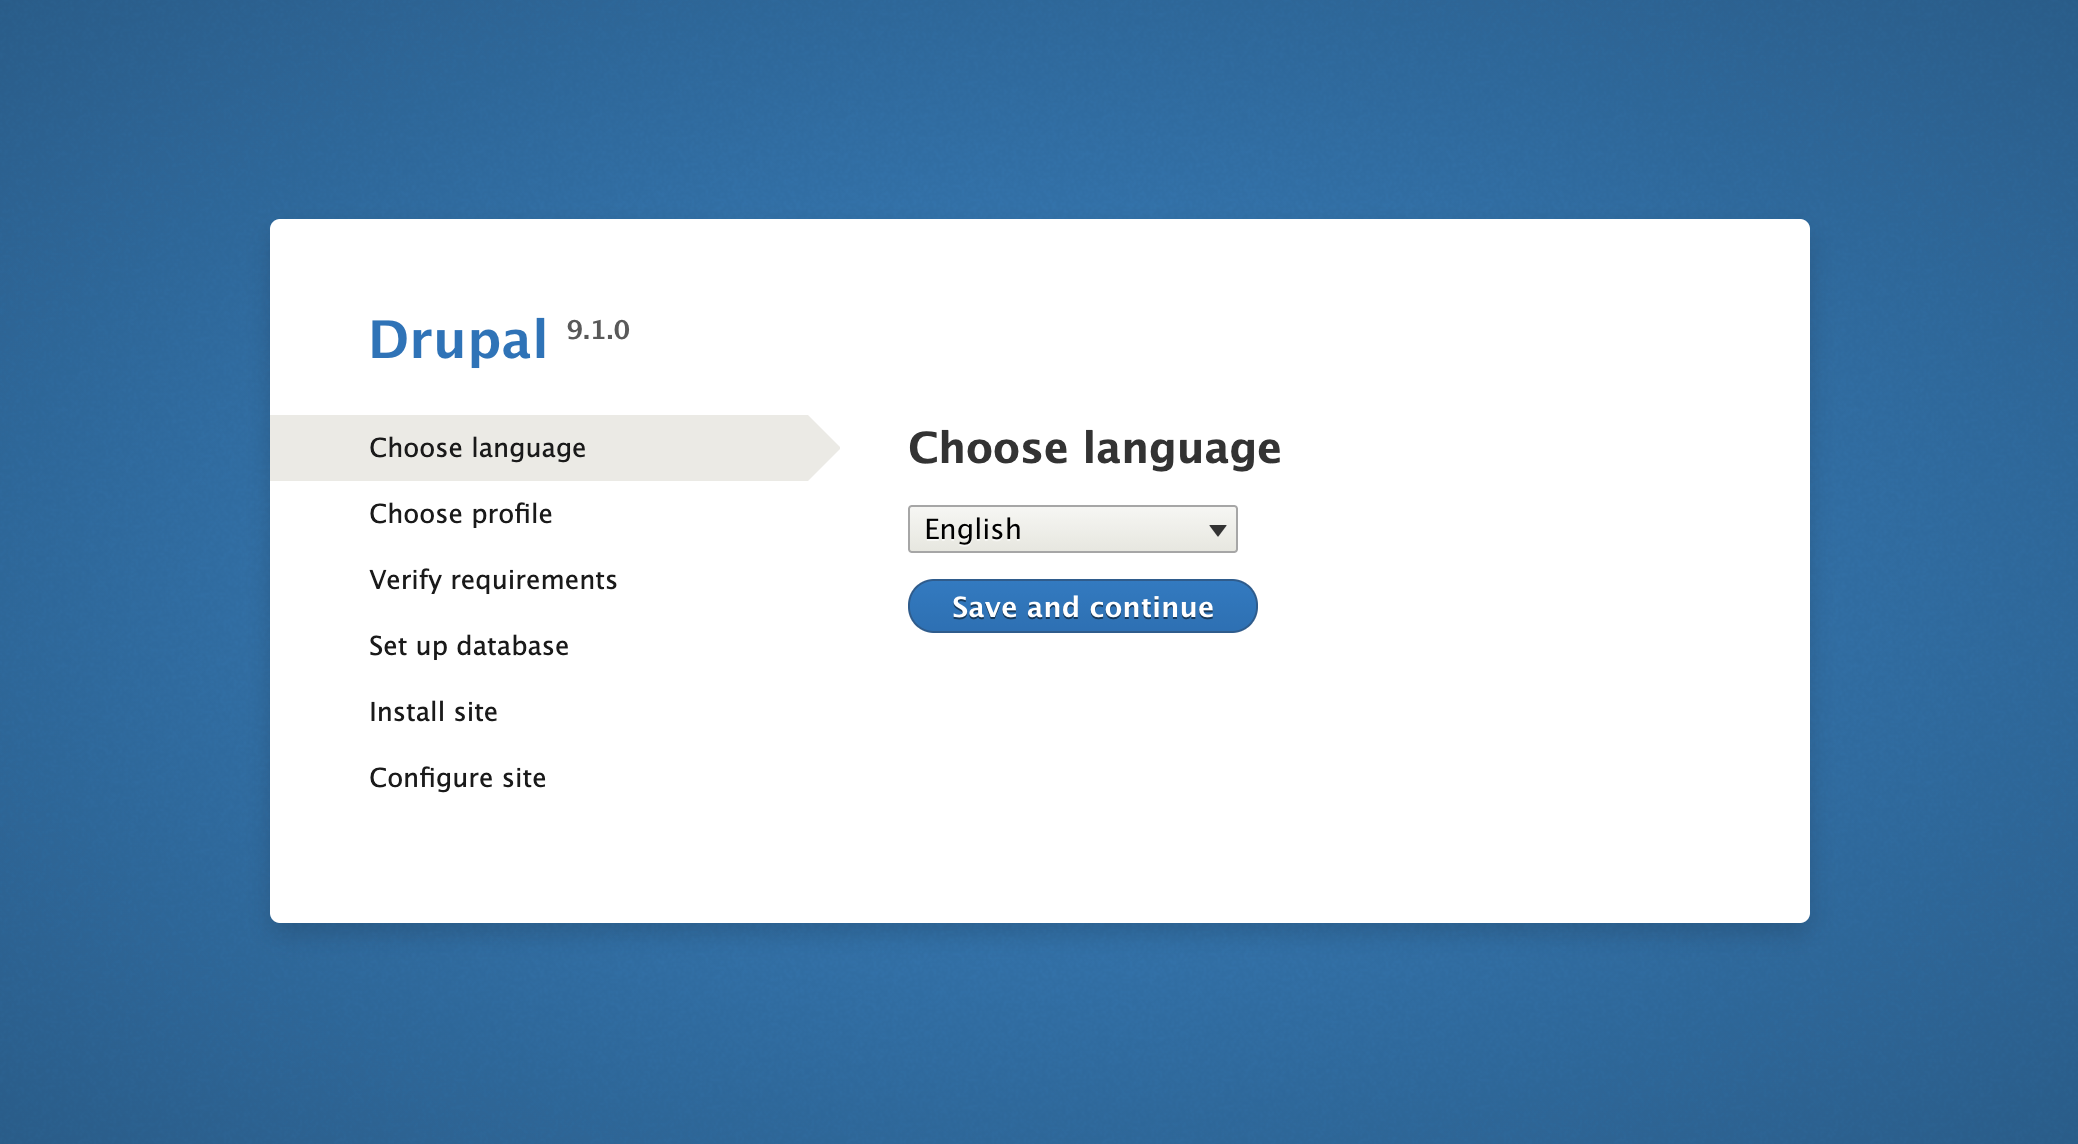
Open a web browser and visit http://localhost:3000 to be greeted with the Drupal installation form!

We will be using a basic install, so go through the installation wizard and select the following options:
- Choose your language and click "Save and continue". In this case, we are taking the default of "English."
- Select the "Standard" installation profile, and click "Save and continue".
- Select "SQLite" for the database type, and leave the rest of the options at default. Click "Save and continue".
- For "Configure Site", fill in whatever site name, email, username, and password you would like. Click "Save and continue".
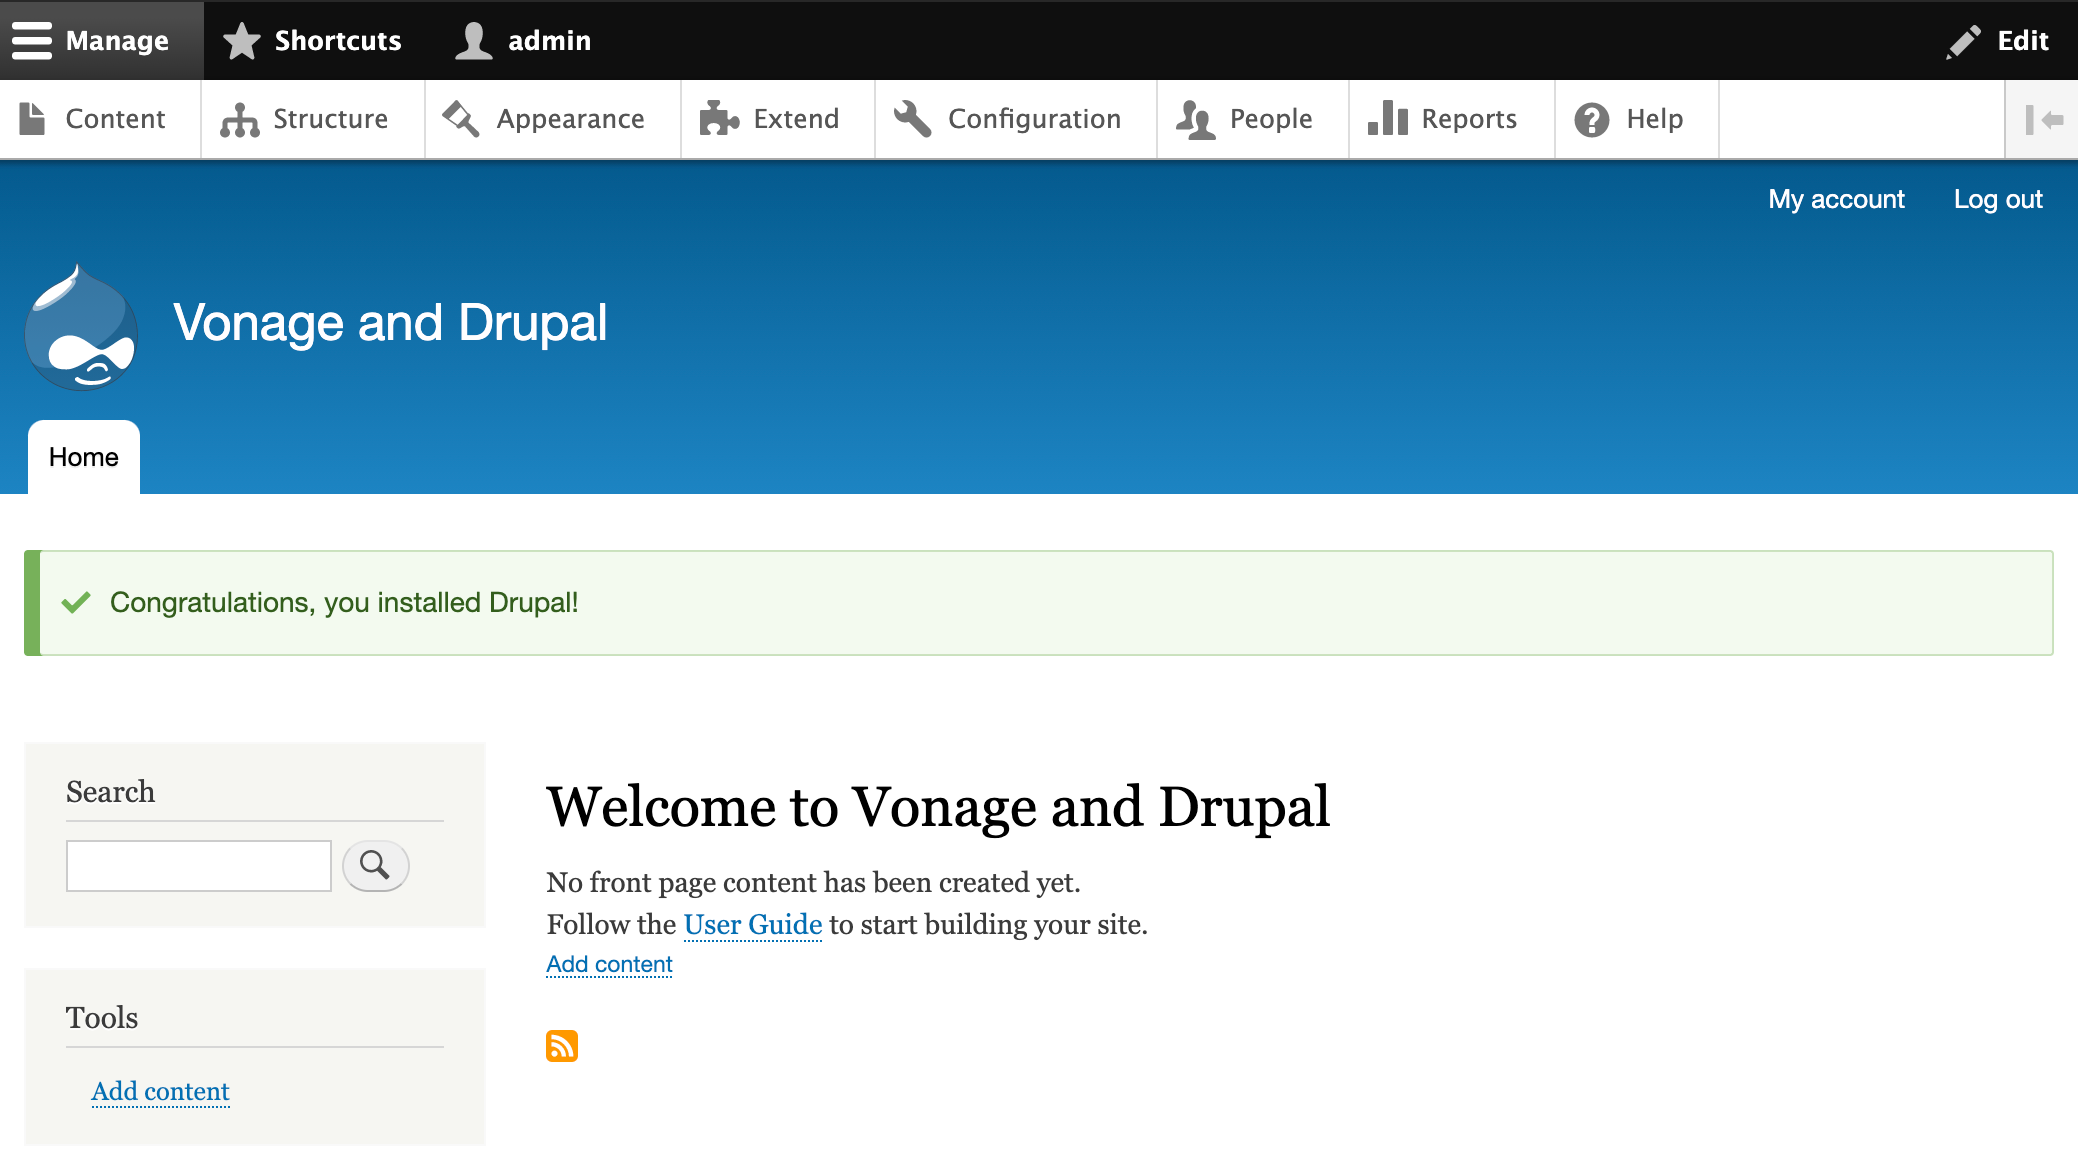
Drupal will finish the installation up. You will be automatically logged in and ready to start playing around!
If you are using PHP 7.4 or 8.0, you may encounter an error about your SQLite version being too low. PHP unbundled SQLite starting with 7.4 and uses whatever your operating system has installed. If you are using Ubuntu 18.04 or older versions of Fedora or CentOS, you may not be able to install Drupal 9 using SQLite. If you run into this, you may want to look at using MySQL or MariaDB as the database instead of SQLite.

Installing Vonage's APIs
Now that we have an installation of Drupal, we can decide how we want to interact with the Vonage APIs. While Drupal can make direction HTTP requests using the built-in \Drupal::httpClient(), developers will have to worry about figuring out API endpoints, JSON structures, and authentication for every single request. It is the most challenging implementation option.
Vonage supplies a PHP library that can help with a lot of the boilerplate code for each request. This library works for most PHP applications since all you need to do is create a \Vonage\Client object and supply your credentials. This library will work fine for Drupal, but the sticky point is making the object you create is accessible to the rest of the system. You would need to write a small module that pushes the Vonage client into Drupal's service layer.
To help with this, Vonage has created a module that provides an admin interface for adding in your credentials, creates the Vonage API client, and registers it with the service system. If you want to look at the source code, it's available at https://github.com/Nexmo/vonage-php-drupal-module. We have also made it available as a library that can be installed via Composer, using vonage/vonage_drupal.
Since we are using Composer to handle our dependencies, we can go back to our terminal and add the package to our website:
$ composer require vonage/vonage_drupal
Composer will download a few dependencies, and you should find the module installed to web/modules/contrib/vonage_drupal. When we've completed the download, we need to enable the module by going to the "Extend" page and enabling the "Vonage API SDK" module. You can either search for it or scroll down to the "Communications" section. Check the box next to the module name and click "Install." After a moment, the page should refresh, and you'll see a "Module Vonage API SDK has been enabled." success message!
We can now configure the module by going to the "Configuration" page and clicking on "Vonage API Settings" under the "SYSTEM" heading. We can configure two sets of credentials on this page that the module will use to set up our SDK Client. Most of the Vonage APIs tend to use the Vonage API Secret and Key, which you can find on your Vonage Dashboard. Fill in the form and click on "Save Configuration." If you are using an API that uses private key authentication like our Voice API, you can expand that section and enter the Application ID and private key.
If you want to test your credentials, you can use the "Vonage SMS API Testing" or "Vonage Voice API Testing" tabs on the configure page. If there is a problem, the system should return with whatever error we encountered. For now, let's fill in your API Secret and Key and save the configuration.
Using the Vonage API SDK
The Vonage Drupal module automatically configures and makes the client object available through the Drupal service container system. This functionality means we can inject the SDK into our custom modules, so let's create a small module. We can use drush to create a module skeleton for us. Run the following commands to install drush for our project, and to run through a quick set of questions to make the module:
$ composer require --dev drush/drush
$ vendor/bin/drush generate module
-
Module Name: Vonage Hello World
-
Machine Name: vonage_hello_world
-
Module Description: Module to test the Vonage API
-
Package: Custom
-
Dependencies: No dependencies, hit ENTER
-
Answer 'No' to all of the creation questions except:
- Would you like to create a controller?
This command will create a new module in web/modules/vonage_hello_world, as well as a new Controller that we can use the SDK in!
Open up web/modules/vonage_hello_world/src/Controller/VonageHelloWorldController.php in your editor. The first thing we need to do to get the SDK into the Controller is override the create() method. This method is used by Drupal to create any controllers, and as such passes in the service locator. Let's add a create() method override:
public static function create(\Symfony\Component\DependencyInjection\ContainerInterface $container) {
    $client = $container->get(\Vonage\Client::class);
    return new static($client);
}
Passing the container as an argument in the method, we can pull the Vonage API client out of the container using the class name. Internally this is calling the factory that takes our credentials we input earlier and generates a usable object. We can then pass this object into a new controller. Speaking of which, let's add a __construct() method that we take our new SDK, and a property to store it in.
protected $client;

public function __construct(\Vonage\Client $client) {
    $this->client = $client;
}
Since we used the drush command to build our module, it automatically added a method to our controller that is attached to a route. We can edit the build() method and add in a call to send an SMS to our mobile phone. Using the Send an SMS snippet as a basis, we can use the client we passed in to send the SMS. Edit the build() method to look like the following example. Make sure to replace TO_NUMBER with your mobile phone number, and VONAGE_NUMBER with the number that you have in Vonage. To make sure that Drupal doesn't cache the page, we're also going to disable page caching whenever someone accesses this route.
public function build() {
    \Drupal::service('page_cache_kill_switch')->trigger();

    $response = $this->client->sms()->send(
      new \Vonage\SMS\Message\SMS(
        'TO_NUMBER',
        'FROM_NUMBER',
        'This was sent from Drupal!'
      )
    );

    $status = $response->current()->getStatus();
    if ($status == 0) {
      $message = "The message was sent successfully";
    } else {
      $message = "The message failed with status: " . $status;
    }
    $build['content'] = [
      '#type' => 'item',
      '#markup' => $this->t($message),
    ];

    return $build;
}
Everything required to send an SMS message from Drupal is installed and configured. Head back to the Drupal Admin UI, go to the "Extend" page, find "Vonage Hello World," and select its checkbox. Click on "Install" to install our custom module. After a moment, A success message should appear to say that we've installed our module.
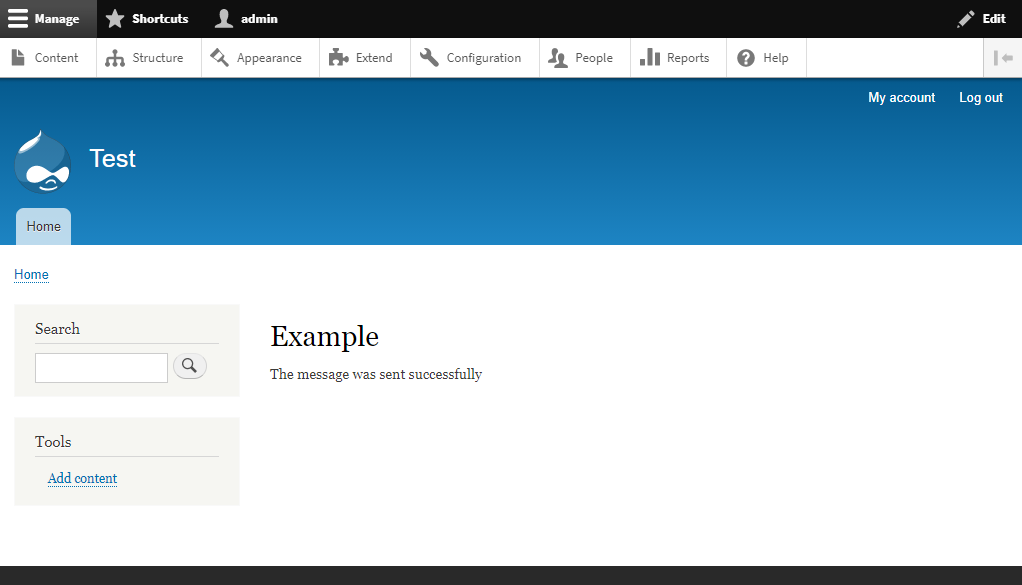
By default the drush skeleton set up a route for our controller at /vonage-hello-world/example. Head over to http://localhost:3000/vonage-hello-world/example. We should see a normal Drupal node that says "The message was sent successfully" and your phone should receive the SMS message we set up in the controller. If you refresh this page, it will send the SMS again since we disabled the output caching.

Further Reading
From here, the full Vonage PHP SDK is available for you to play around within your custom modules. Feel free to look over our PHP Code Snippets for more examples of various things you can do with our SDK across almost all of our APIs.
You can find the example code for this demo at https://github.com/nexmo-community/vonage-php-sdk-drupal-9.
