
How to Send SMS Messages with ASP.NET MVC Framework
A newer version of this post now exists. It could be that the libraries need to be updated, or that the product has changed. Please click here to view it.
The Vonage SMS API lets you send and receive text messages around the world. This tutorial shows you how to use the Nexmo C# Client Library to send SMS messages from your ASP.NET MVC web app.
View the source code on GitHub
Prerequisites
To get started with the Nexmo Client Library for .NET, you will need:
- Visual Studio 2017 RC
- Windows machine
Vonage API Account
To complete this tutorial, you will need a Vonage API account. If you don’t have one already, you can sign up today and start building with free credit. Once you have an account, you can find your API Key and API Secret at the top of the Vonage API Dashboard.
This tutorial also uses a virtual phone number. To purchase one, go to Numbers > Buy Numbers and search for one that meets your needs.
ASP.NET Project Setup
First, open up Visual Studio and create a new ASP.NET Web Application (.NET Framework) project.
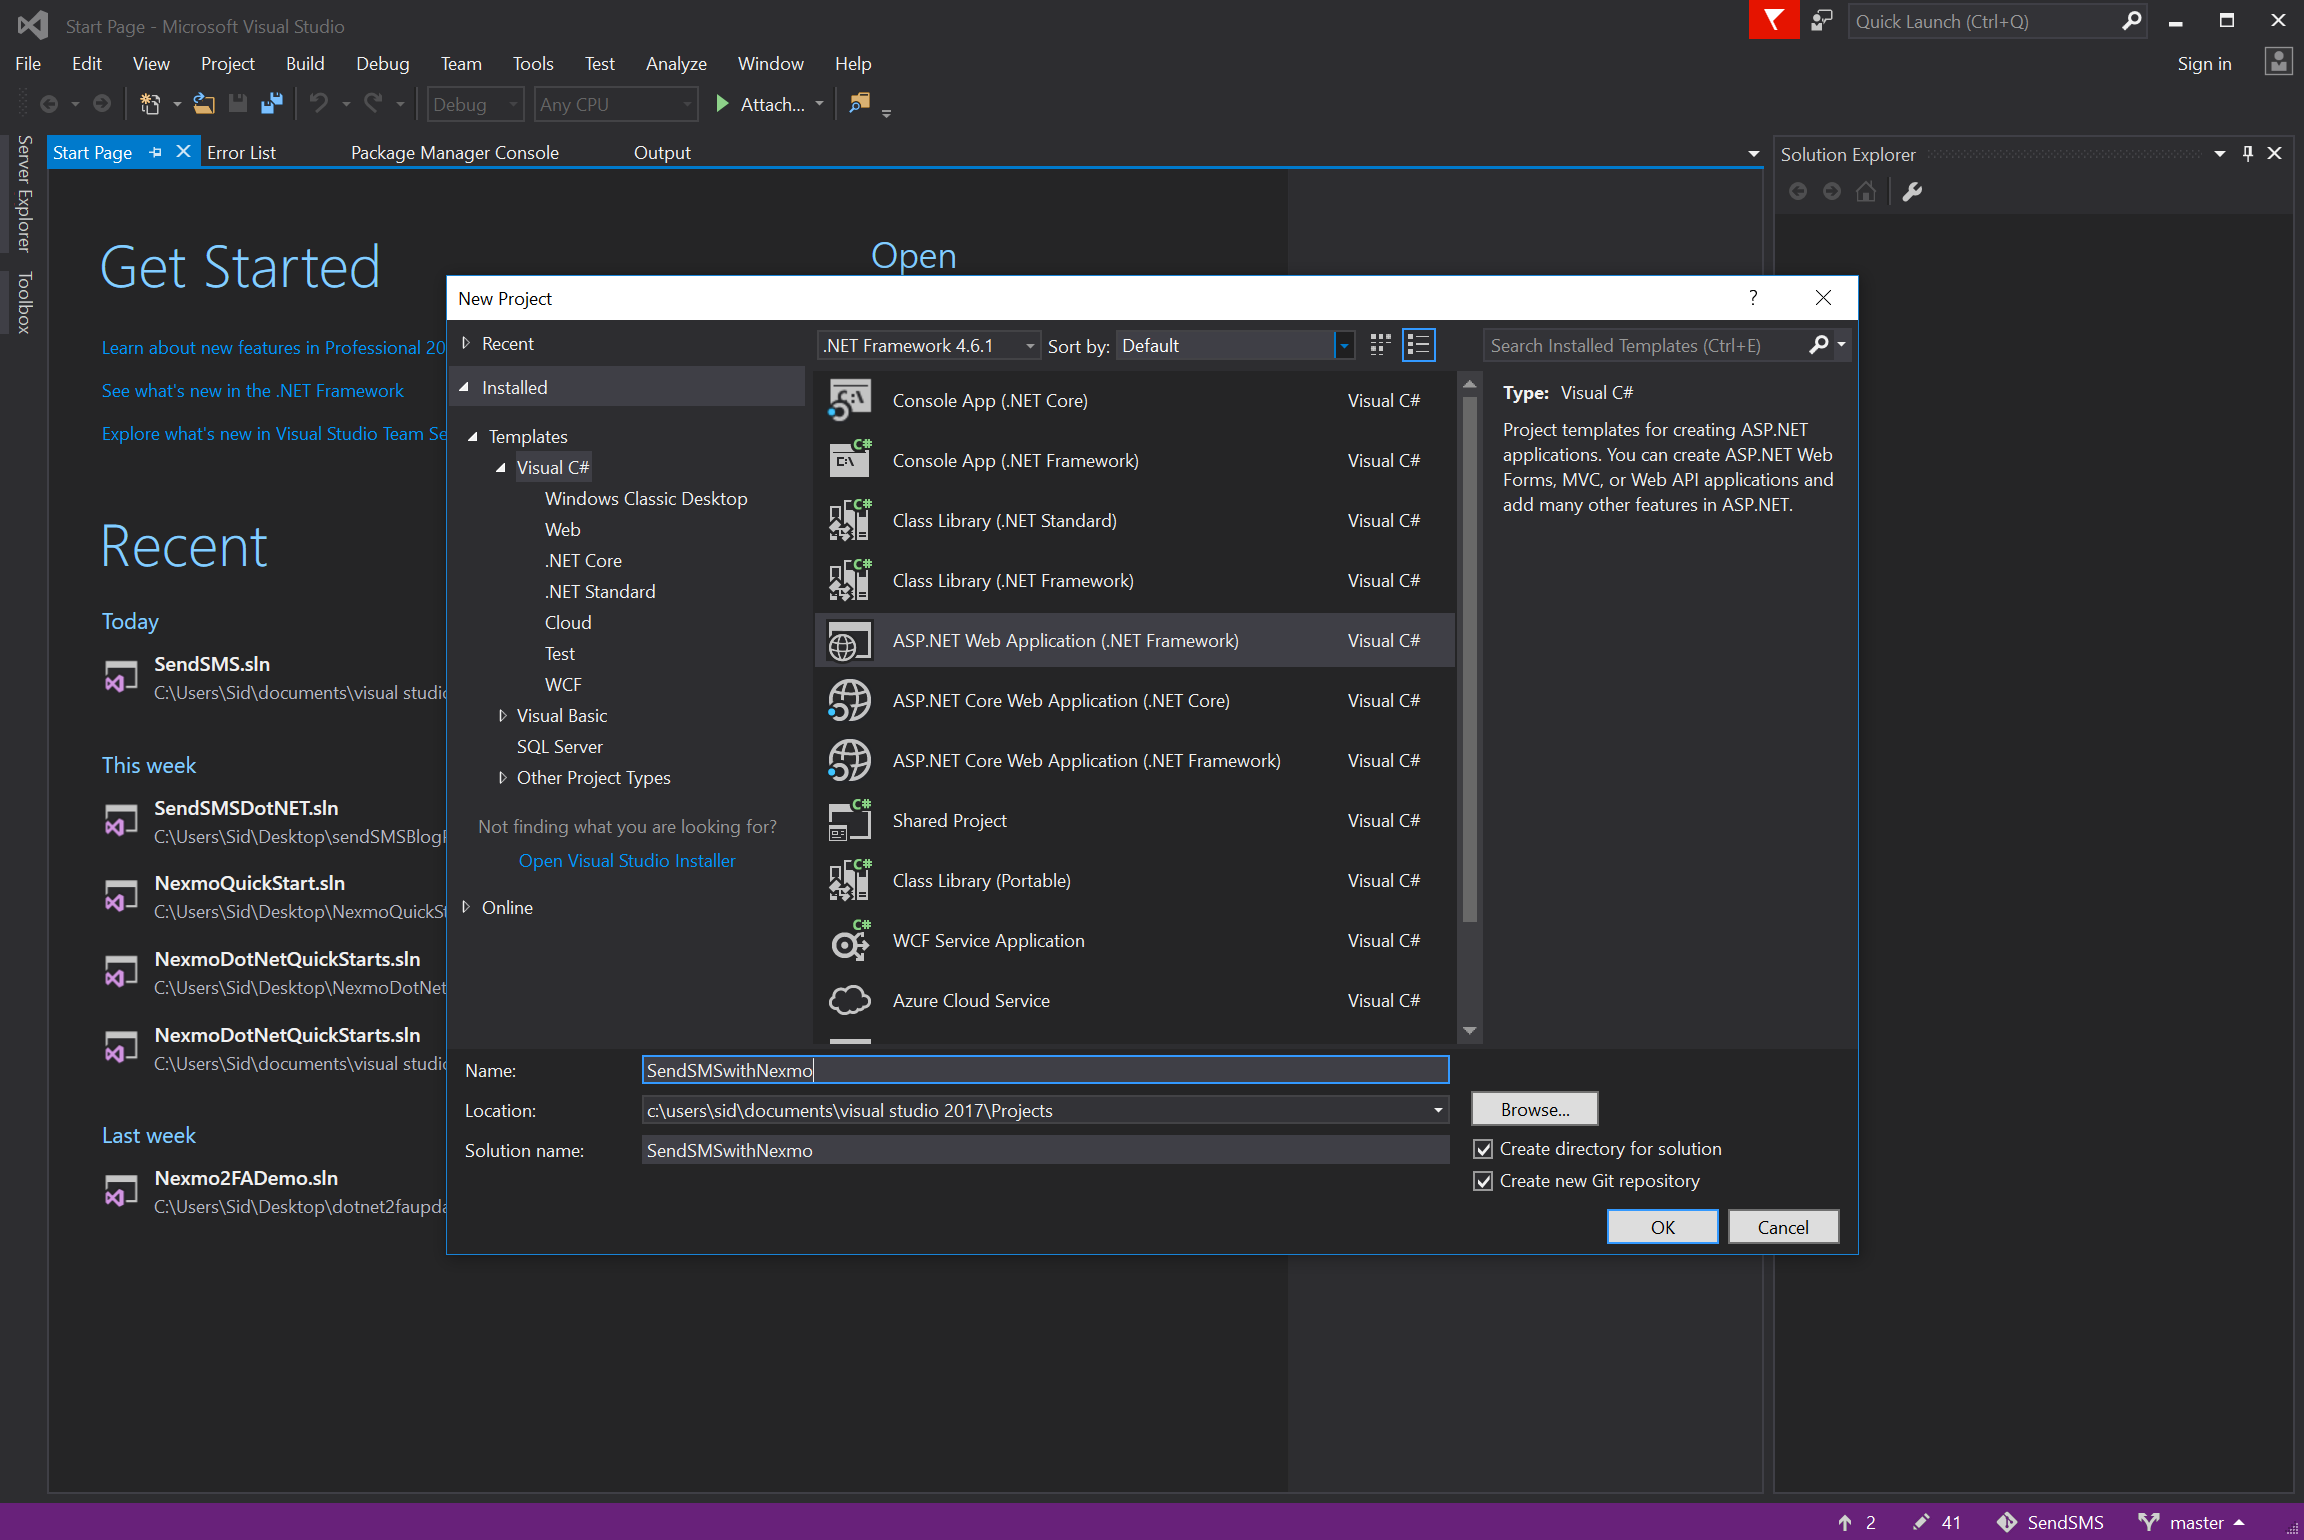
Select the MVC Template and ensure the Authentication type is set to No Authentication. Click OK to create the project.

Next, install the Vonage C# Client Library via the NuGet Package Manager Console.
Install-Package Nexmo.Csharp.Client -Version 2.2.0’
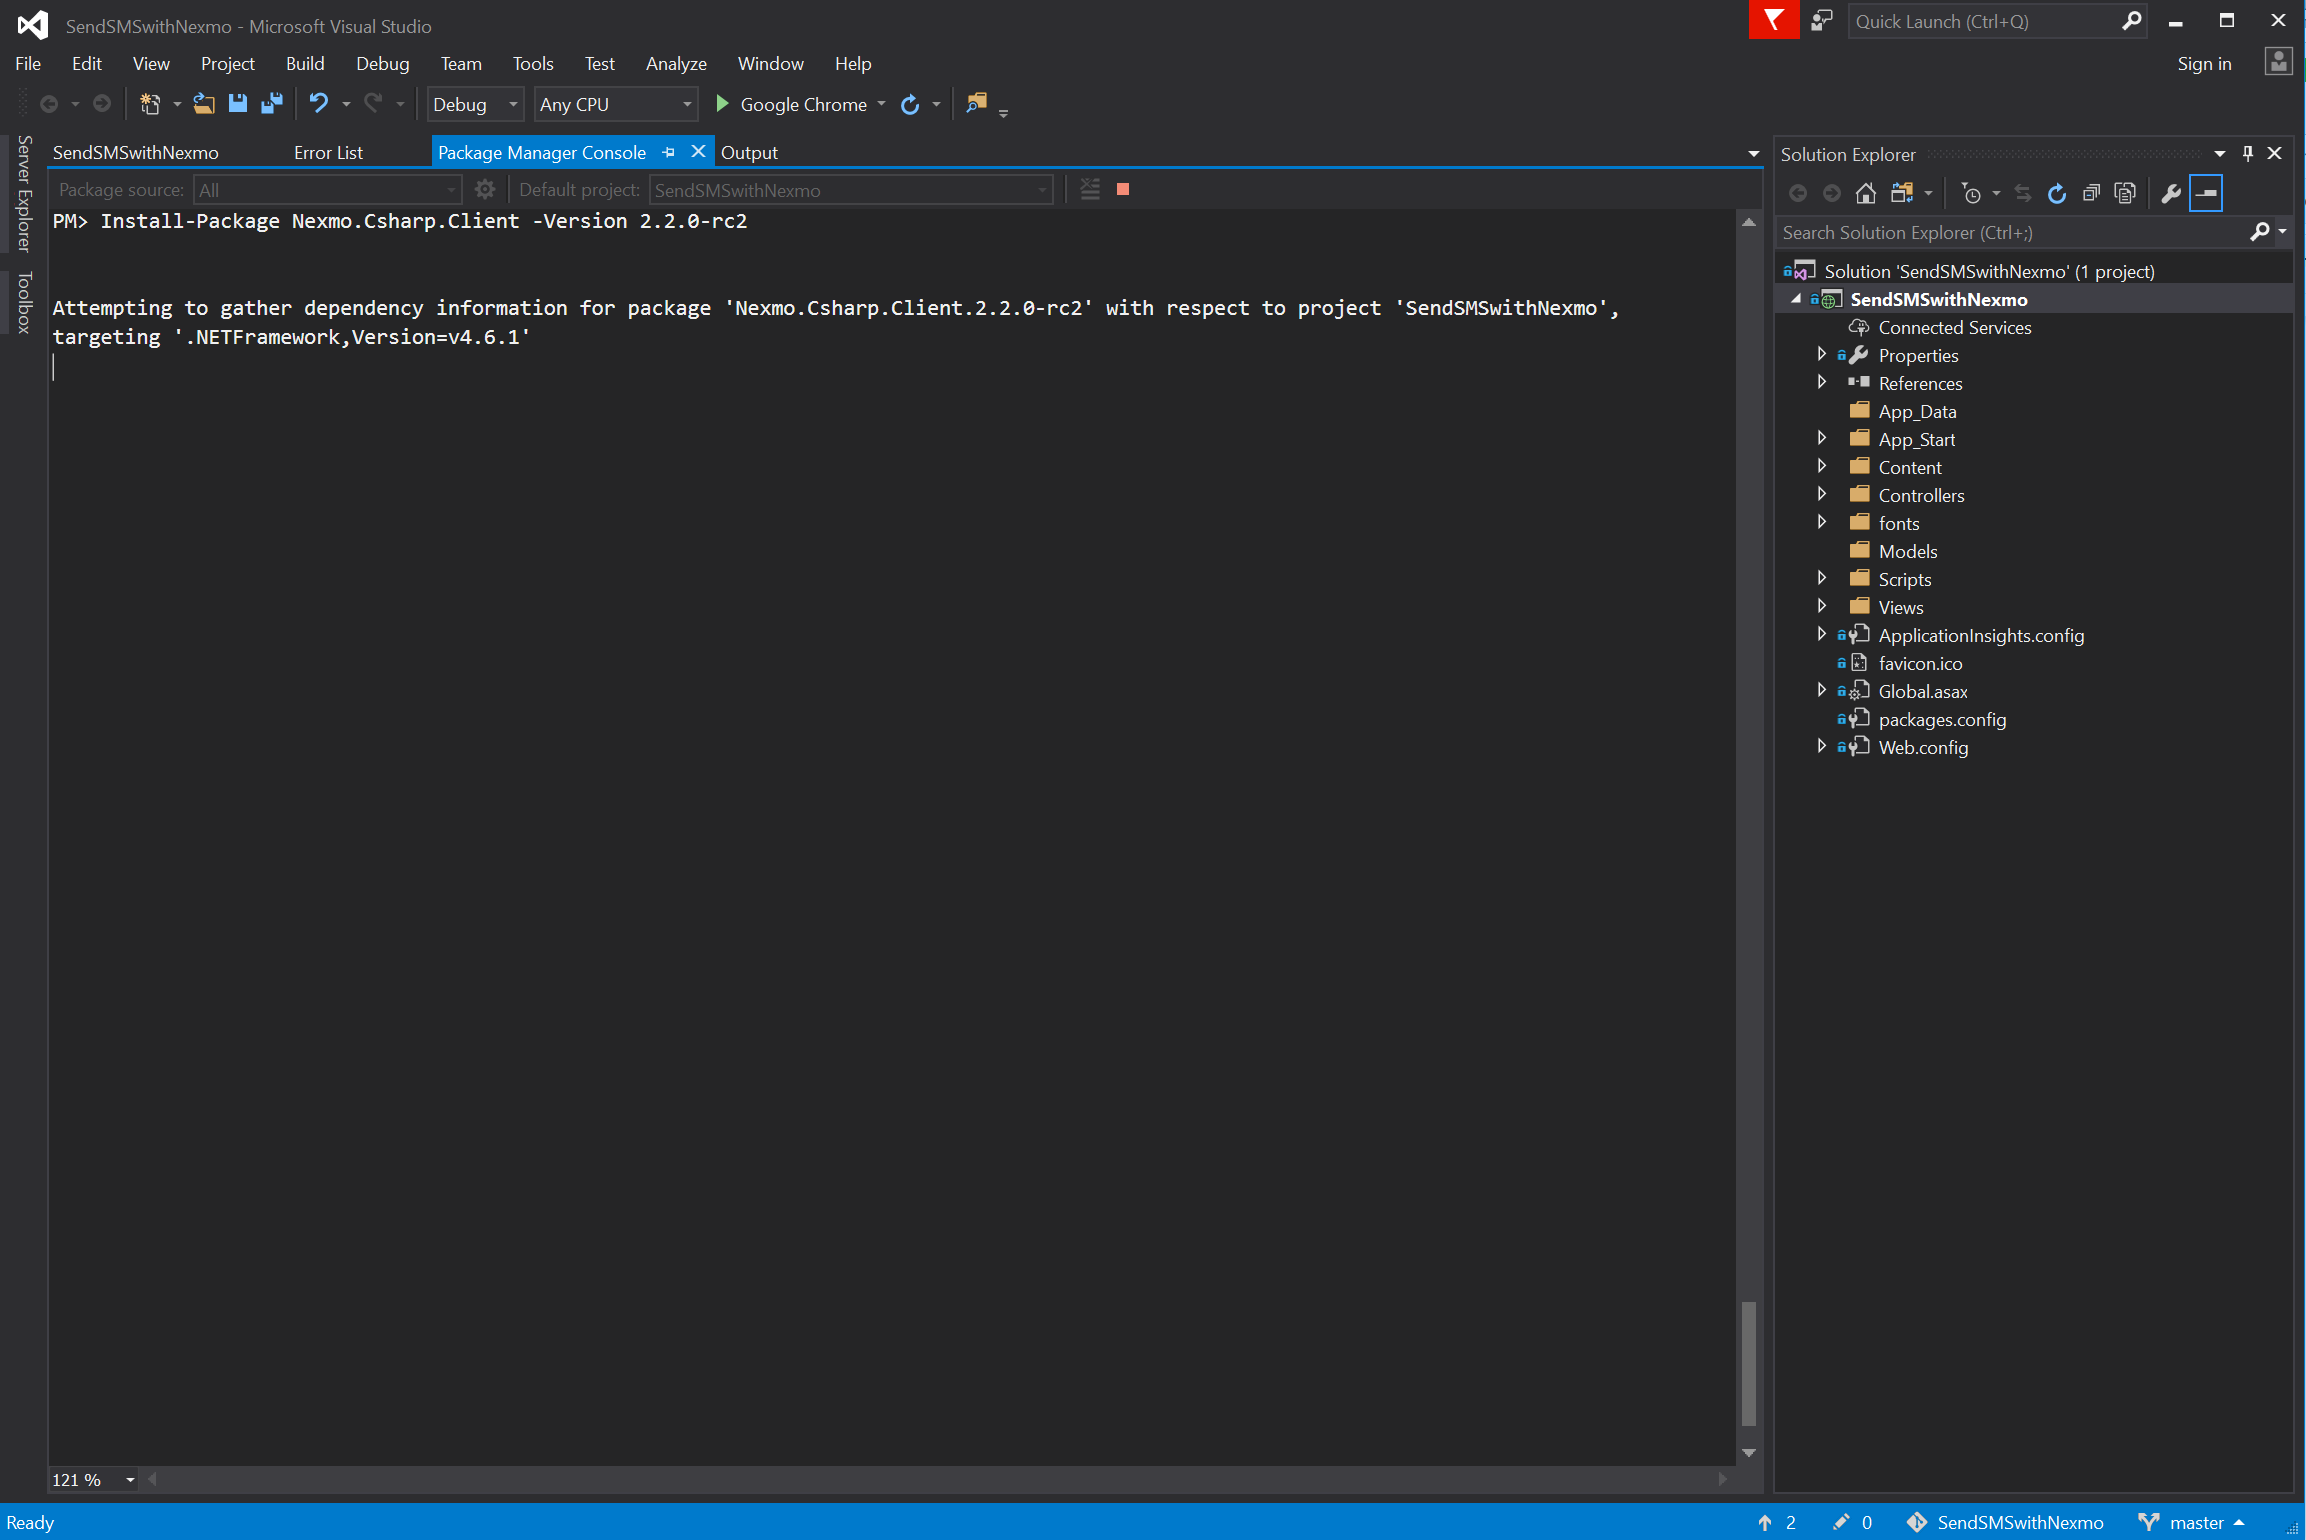
Also, add the following package to enable debug logging in the output window via the Package Manager Console:
Install-Package Microsoft.Extensions.Logging -Version 1.0.1
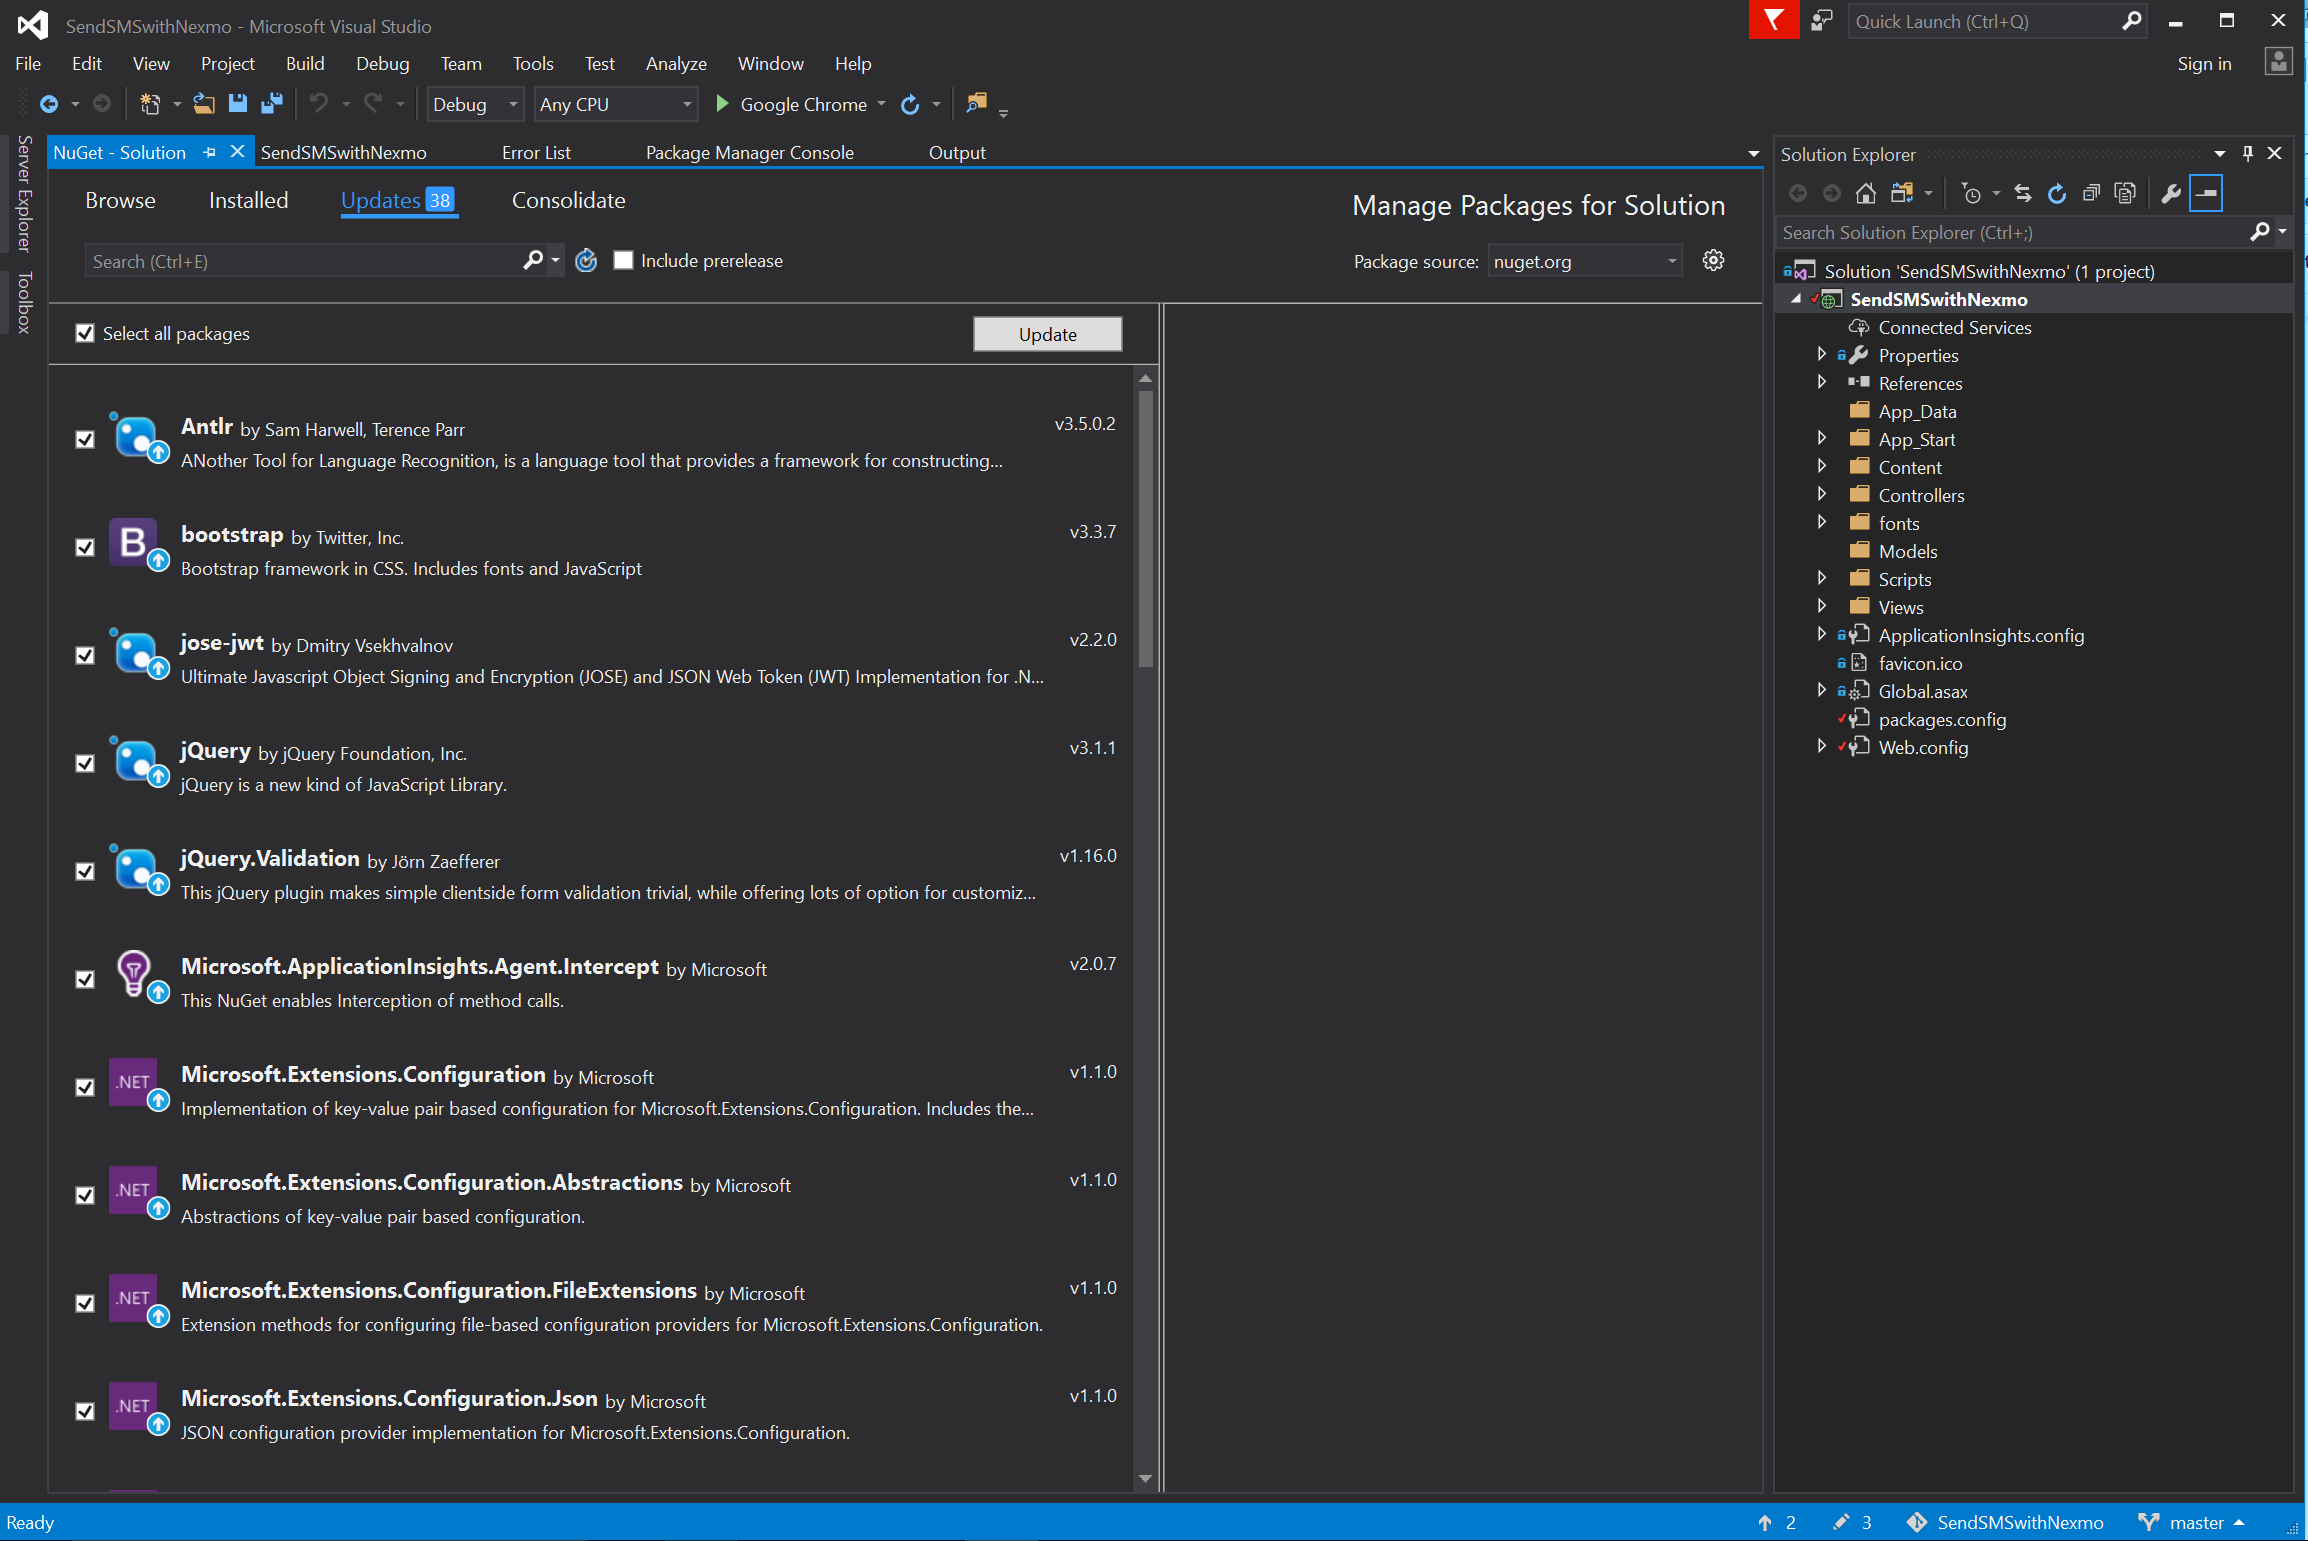
Next, under the Tools dropdown menu, locate NuGet Package Manager and click Manage NuGet Packages for Solution. Under the Updates tab, select the Update All Packages box and click the Update button.
Diving Into the ASP.NET Project Code
Add a JSON file appsettings.json to your project. Inside this file, add your Vonage API credentials.
{
"appSettings": {
"Nexmo.UserAgent": "NEXMOQUICKSTART/1.0",
"Nexmo.Url.Rest": "https://rest.nexmo.com",
"Nexmo.Url.Api": "https://api.nexmo.com",
"Nexmo.api_key": "NEXMO-API-KEY",
"Nexmo.api_secret": "NEXMO-API-SECRET",
"NEXMO_FROM_NUMBER": "NEXMO-VIRTUAL-NUMBER"
}
}
Create a new controller (SMSController.cs). In this controller, create an action method called Send. Above the method, add a HttpGetAttribute to allow the user to navigate to the corresponding view.
[System.Web.Mvc.HttpGet]
public ActionResult Send()
{
return View();
}
Afterwards, click on the Views folder and add a new folder called SMS. Within this folder, create a new view. (`Send.cshtml'). Then, add a form to the view with two input tags (type = “text”) for the destination number and the message to be sent. Lastly, add an input tag (type = “submit”) to submit the form.
@using (Html.BeginForm("Send", "SMS", FormMethod.Post))
{

<input id="to" name="to" type="text" placeholder="To" />
<input id="text" name="text" type="text" placeholder="Text" />
<input type="submit" value="Send" />
}
Back in the SMSController, add the following using statement to the top of the file.
using Nexmo.Api;
Add another action method named Send with two string parameters: to and text. Within this method, add the code below to send the text using the parameters as the to and text values. The from number is your Vonage virtual number (retrieved from the appsettings.json).
[System.Web.Mvc.HttpPost]
public ActionResult Send(string to, string text)
{
var results = SMS.Send(new SMS.SMSRequest
{
from = Configuration.Instance.Settings["appsettings:NEXMO_FROM_NUMBER"],
to = to,
text = text
});
return View();
}
Run the app and navigate to the correct route localhost:PORT/SMS/Send. Enter the message you wish to send and the destination number and click Send.
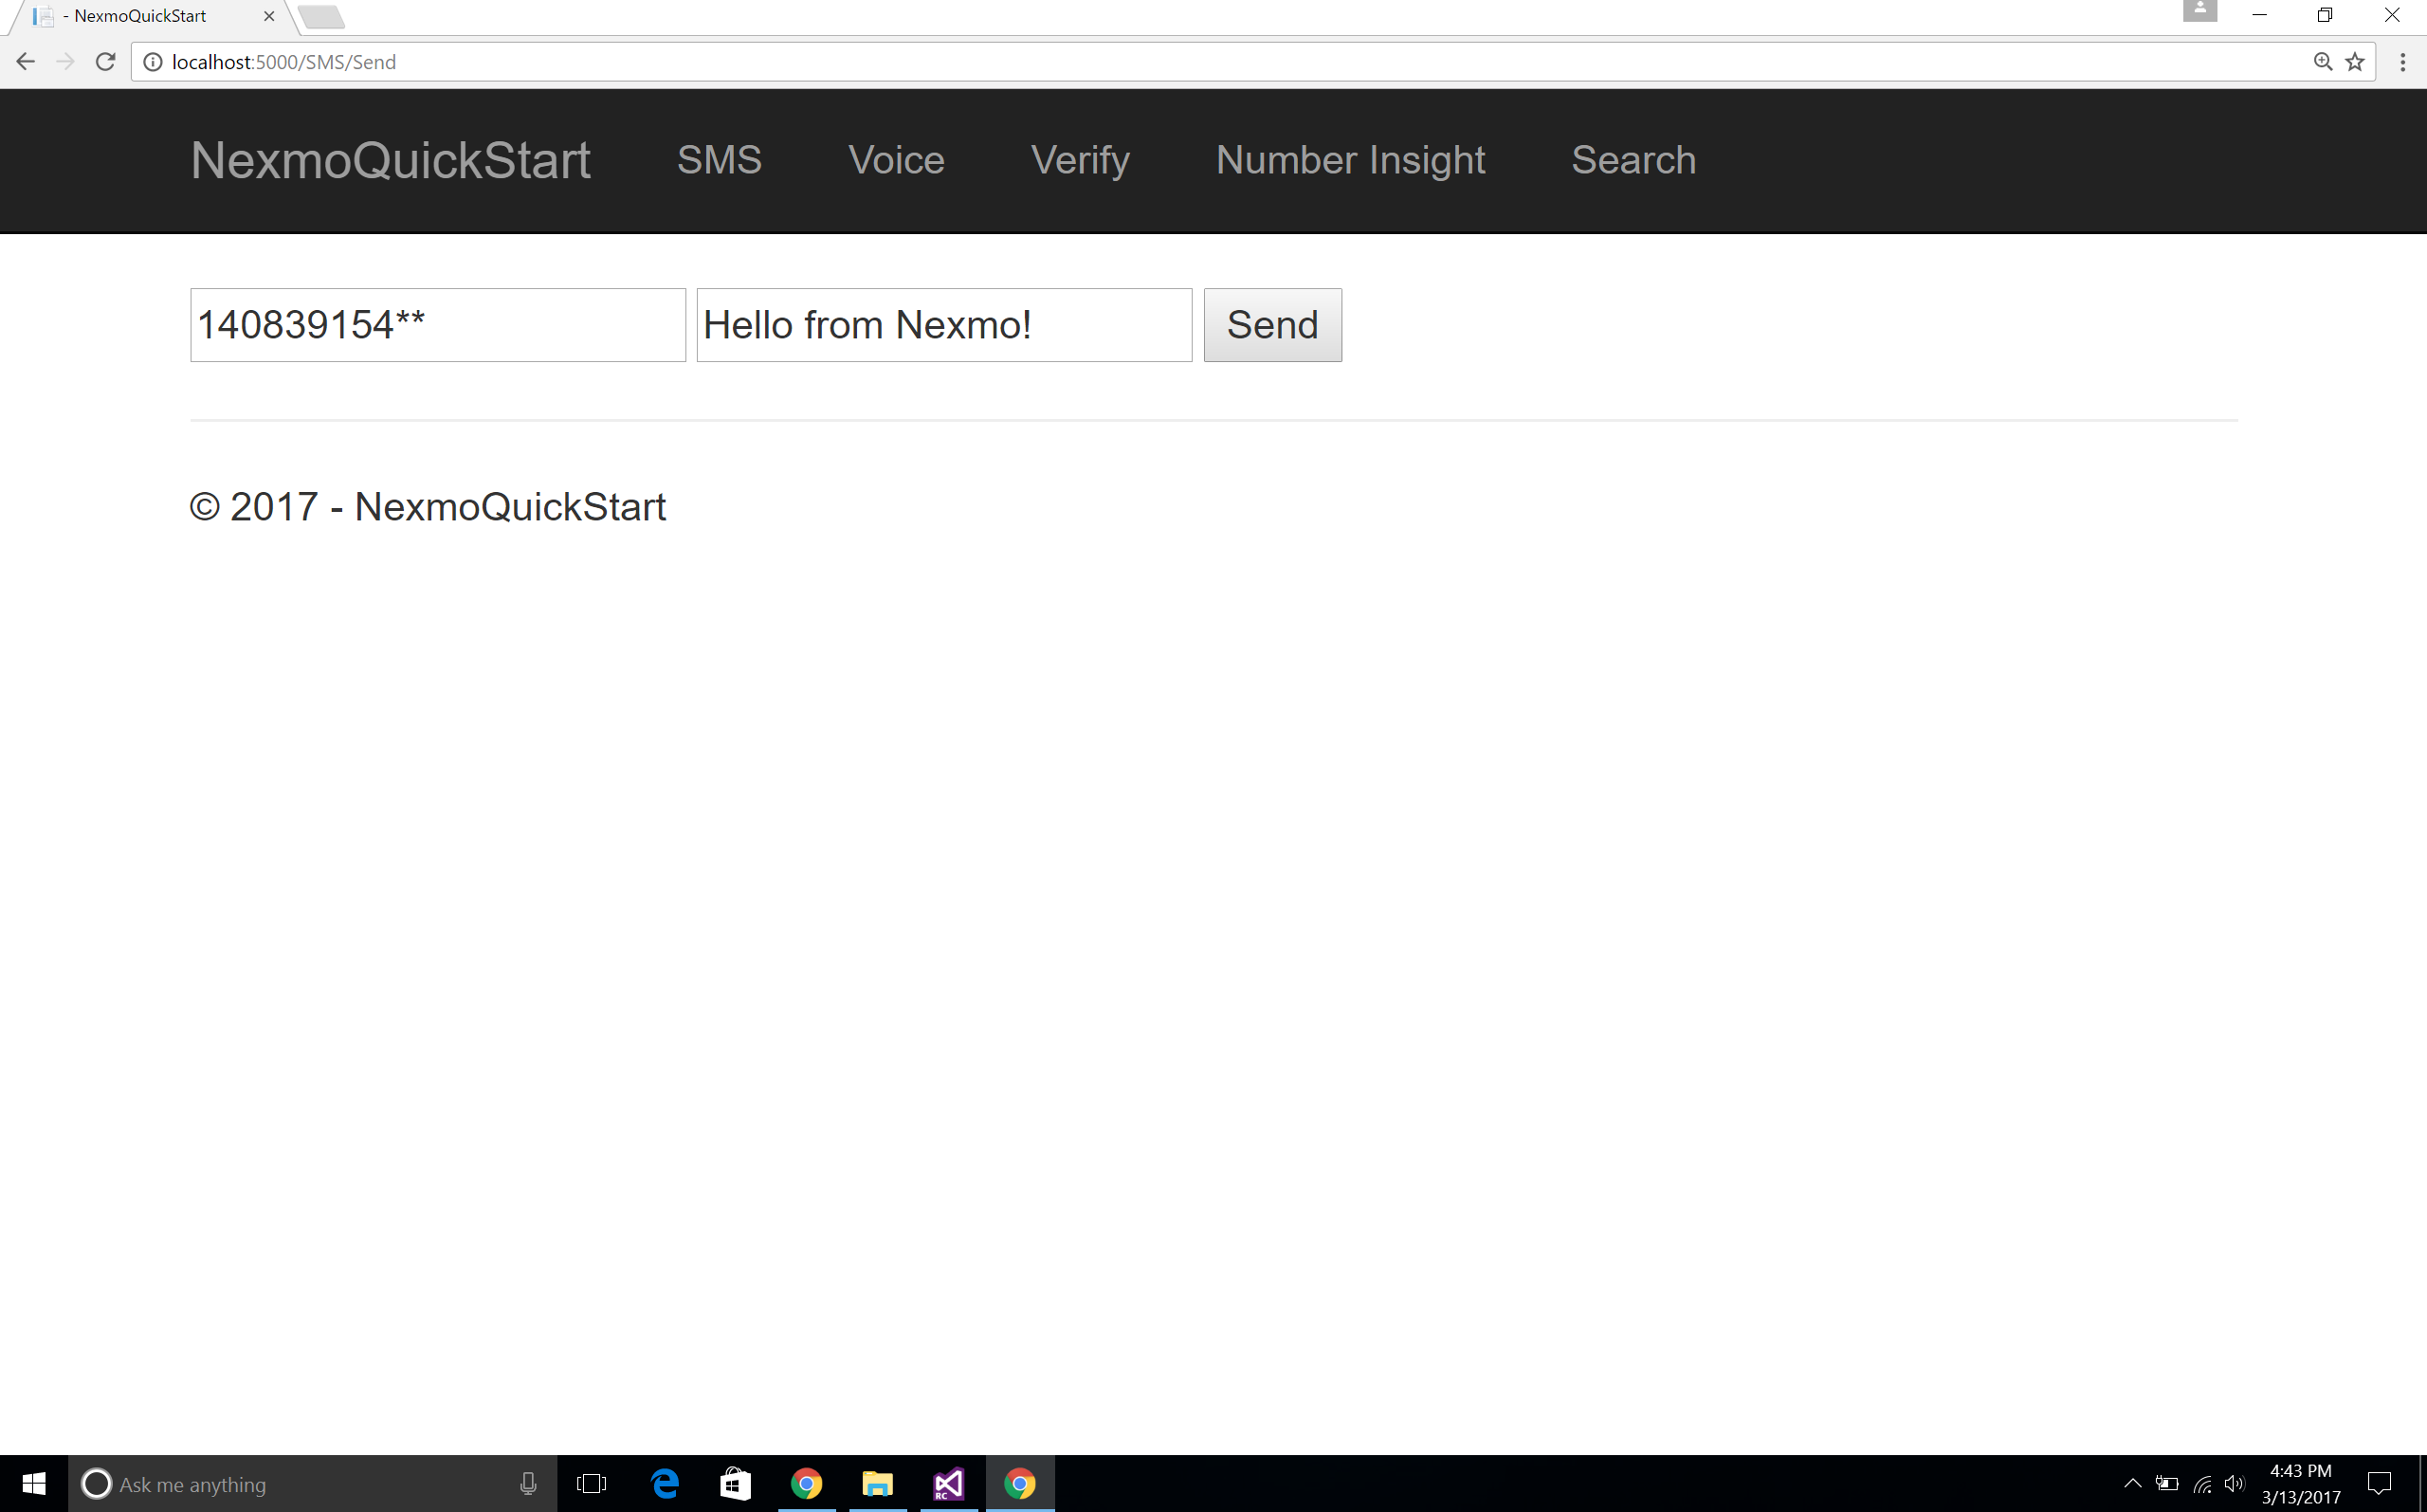
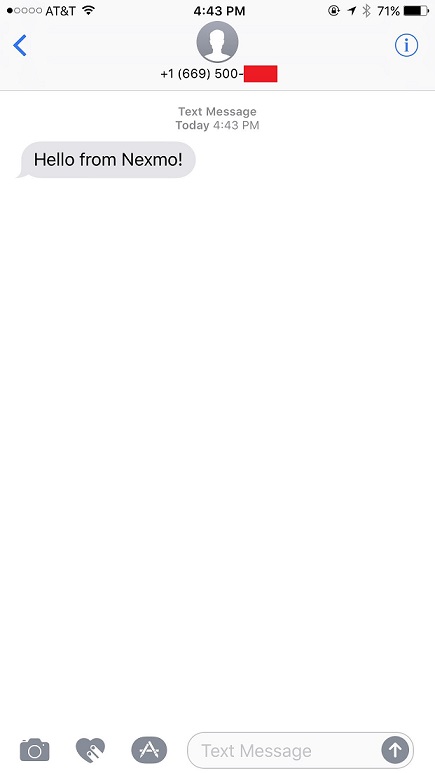
There you have it! Sending an SMS in .NET using the Nexmo C# Client Library is that simple! Stay tuned for the next part of this series on how to receive an SMS in .NET Standard!
Feel free to reach out via e-mail or Twitter if you have any questions!
